

DonorPerfect Features
Transform your fundraising with the most comprehensive software for nonprofits.
Donor insights and reporting
DonorPerfect’s instant insights and reporting capabilities ensure your team makes informed, data-driven decisions every time.
- One sortable list to view your entire donor base
- A clear 0-100 Donor Score to know who to engage
- Unlimited custom reports
- Scheduled reports delivered to your inbox
- 70+ standard reports showcasing essential metrics
DonorPerfect is a fantastic one-stop shop for all things nonprofit development. DonorPerfect makes it easy to see all donations in one place, to run customizable reports, to communicate with donors, to track CRM data… it fulfills everything I could ask for from a service like this.
– Andrew M.
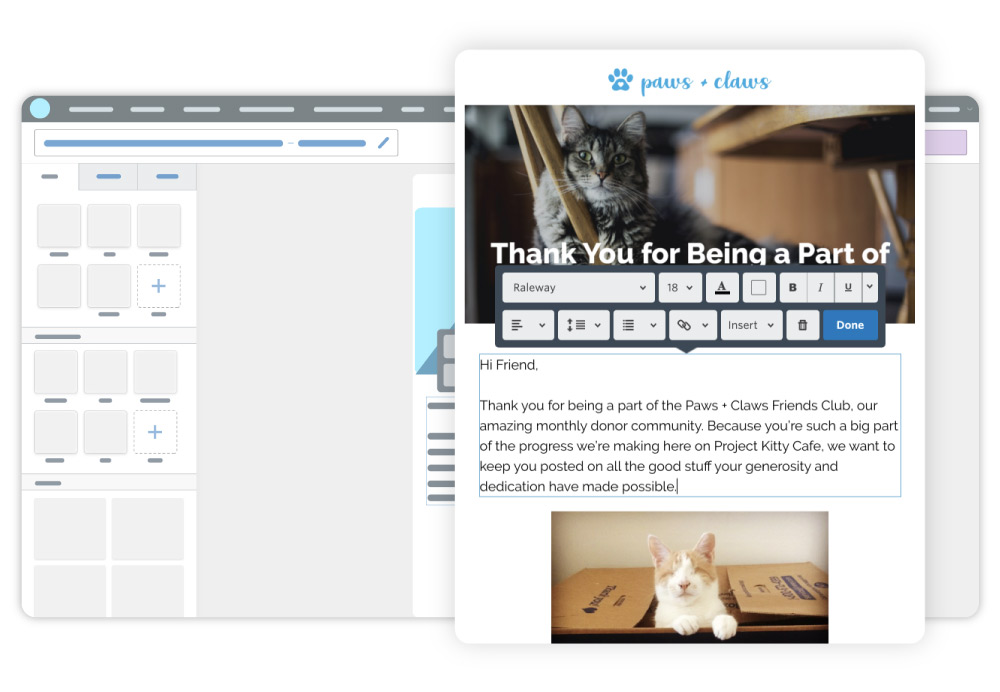
Email marketing
Constant Contact seamlessly integrates with DonorPerfect and comes standard with all pricing levels. Constant Contact offers top-of-the-line email marketing for nonprofits that everyone from a novice to an expert can appreciate.
- Custom DonorPerfect fundraising templates to save time while raising more funds
- Open and click-through rates to track and gauge appeal success
- Dynamic email lists that update based on filters you set
- Donor Journey Builder to create multi-touch campaigns
- New! AI-powered content creator for emails
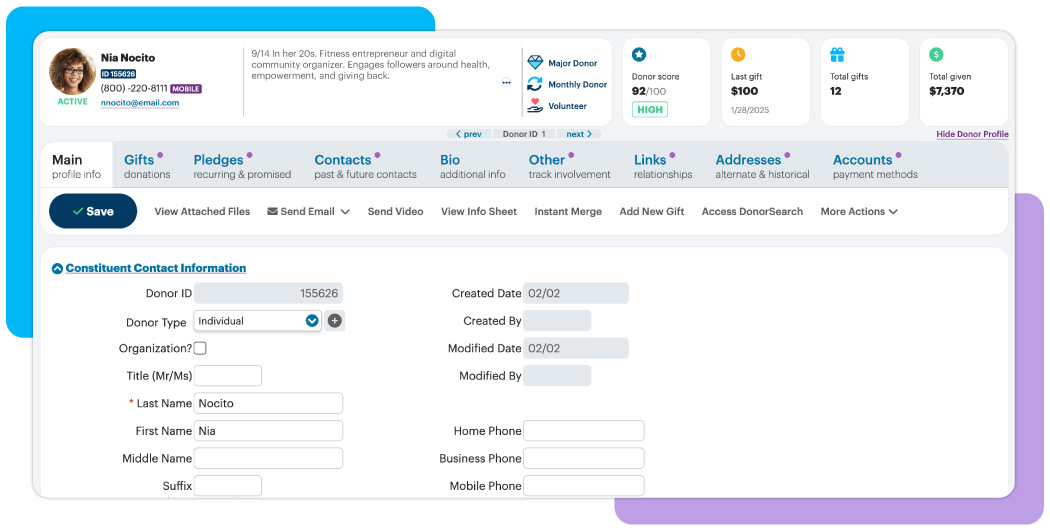
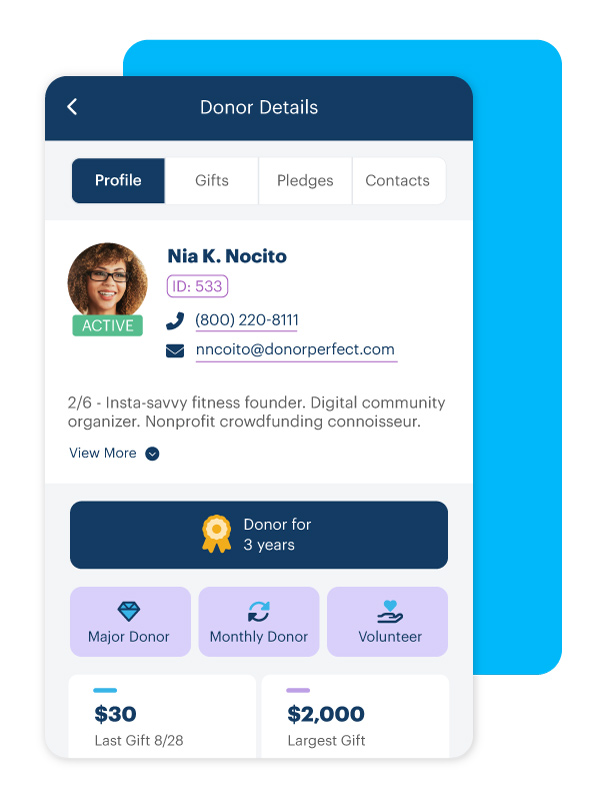
Donor profiles
Donor profiles show you who each supporter is, helping you connect personally and build lasting relationships that inspire continued support.
- Profile pictures to put a face to every name
- Monthly donor, major donor, and volunteer indicators
- Key giving metrics (Last gift, Total given, and Total gifts) for instant insight into donor impact
- Donor Score (0-100) to identify high-priority supporters at a glance
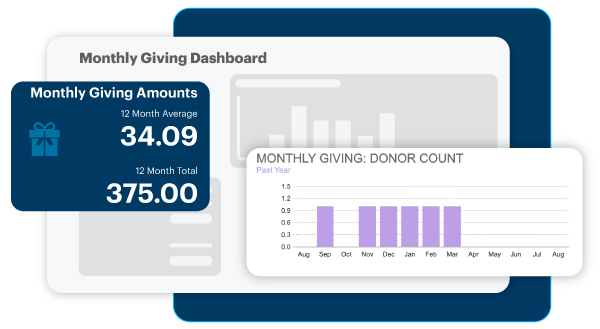
Dashboards and goal tracking
DonorPerfect’s dashboards provide you and your team with a unified view of your organization’s progress so you can stay on pace to meet your goals.
- Visual goal tracking
- Custom dashboards with over 25 standard graphs and widgets
- Monthly giving metrics
- Individualized calendar reminders
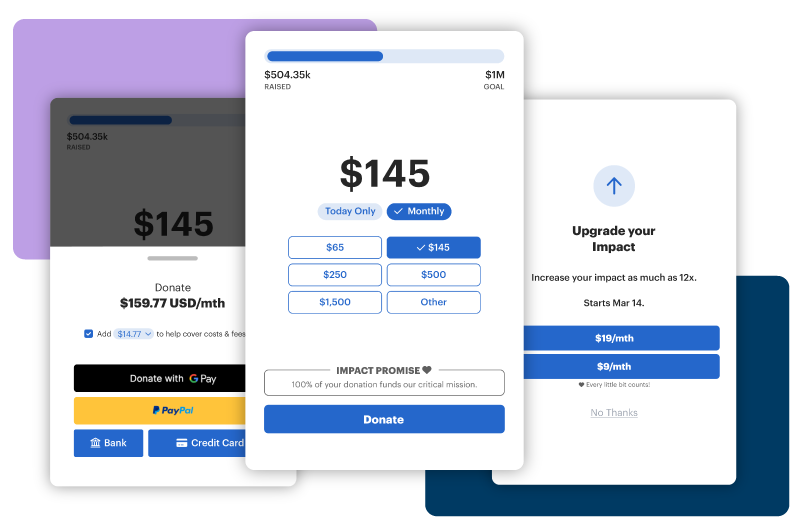
Online donation forms
Make giving simple with donation forms and enjoy the added bonus of automatic data entry.
- Custom, branded forms that reflect your organization’s personality
- Digital wallet payment options
- Event management integration
- Custom URLs to tailor ask amounts for segmentation
- Embeddable, pop-up donation forms that don’t disturb browsing
- Donor portals to update their contact info and payment methods
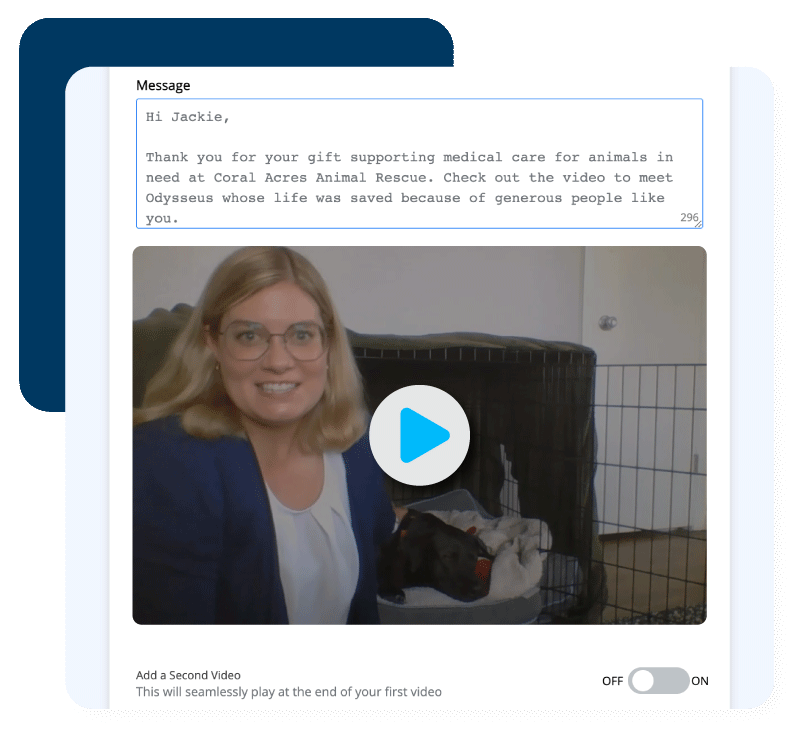
Gift acknowledgments
Thanking donors is one of the key pillars of donor retention. DonorPerfect’s unique stewardship options make it an easy and effective tool for your team.
- Video acknowledgements
- Personalized thank you letters and emails
- Automatic receipting for online and monthly gifts
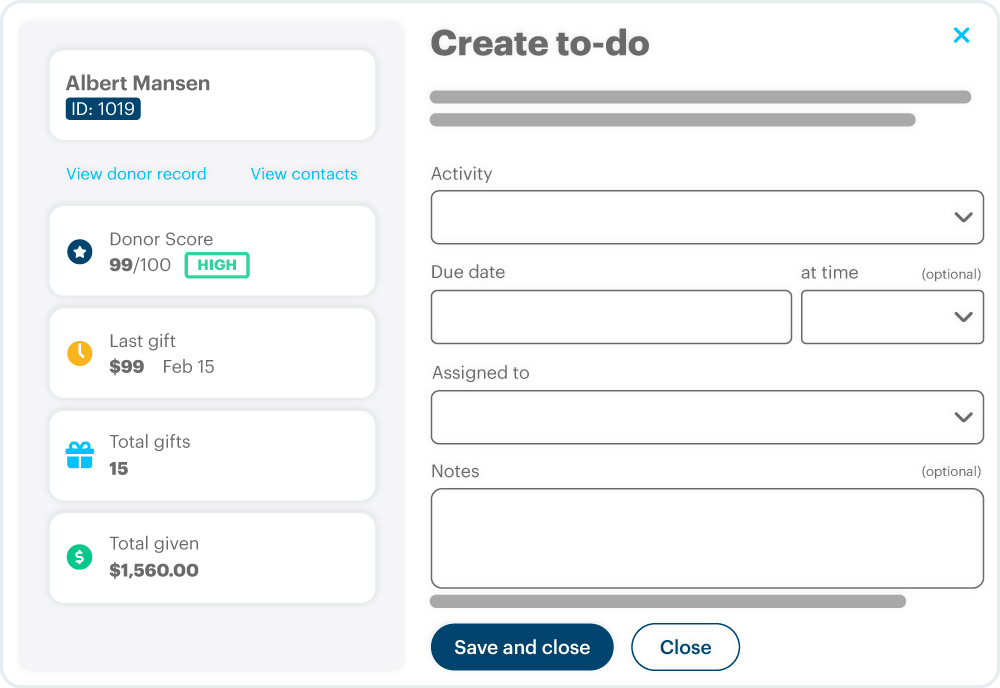
Task management tools
Manage, delegate, and automate tasks to streamline your day-to-day efforts.
- Calendar reports
- Automatic assignments with due dates
- Personalized pipeline of approaching deadlines
DP Mobile app
With DP Mobile, you can effortlessly track and manage donor interactions when you’re away from your desk.
- Accept donations on the spot
- Record donor engagement activities
- Find opportunities nearby with “Donors Near Me” report
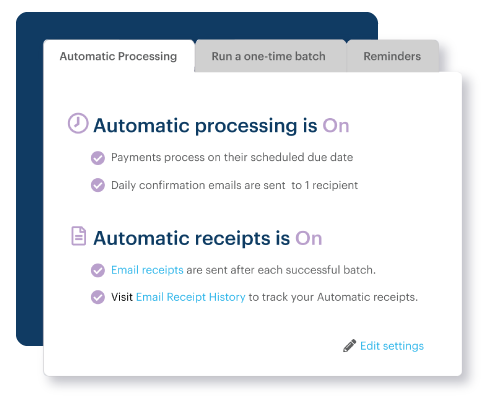
Automatic monthly giving
Monthly giving programs amplify your annual revenue with ease and DonorPerfect’s program runs on autopilot.
- Automatically process bank account and credit card donations
- Update expiring credit cards automatically
- Generate email thank yous each time a gift is processed
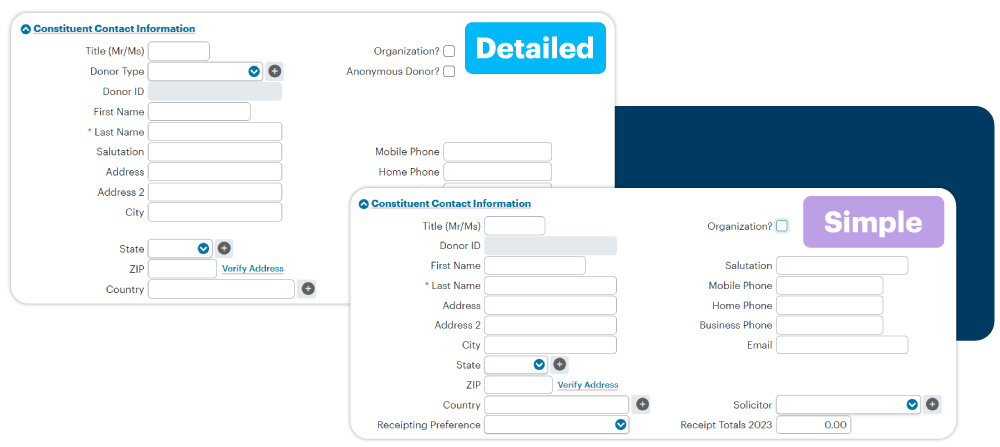
Custom data entry screens
Tailor data entry screens that work for you by adding, removing, and shifting the fields you need to see front and center.
- Create unlimited fields (date, numeric, text, etc.)
- Enable dynamic screens that display or hide fields based on data entry
- Make fields read-only or required to ensure your data is accurate and complete
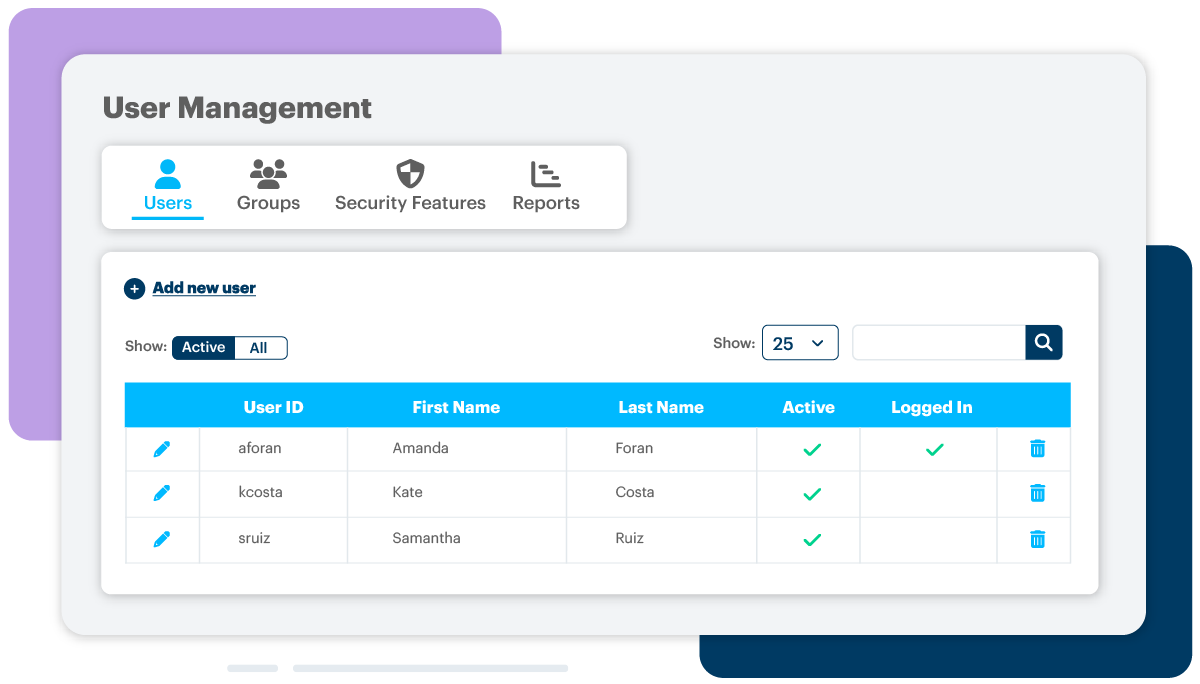
Security
Ensuring the safety of your donors’ vulnerable data is essential to maintaining their trust in your organization. DonorPerfect establishes this security for you.
- DonorPerfect’s payment processing solution exceeds PCI security requirements
- User security options are available at every level to restrict access, and you can even hide specific fields of data
- Enable password requirements and IP address settings
Check out more of our software features
Data entry defaults
Make data entry a breeze with individualized pre-set field selections.
Importing
Leave manual data entry behind with a four-step import process using simple Excel spreadsheets.
Duplicate maintenance
Keep your data tidy with duplicate alerts and an easy-to-use tool to merge records.
Global updates
Make quick data adjustments to groups of records at once.
Tributes
Handle honorarium and memorial gifts with tact by recognizing both the donor and the person or persons who inspired the gift.
Hosted file storage
Keep important documents (grant reports, volunteer applications, etc.) in easy reach by uploading them right to a donor’s record.
Calculated fields
Create custom fields that perform mathematical operations for you and deliver the information right to the donor record.
Segmentation
Target the right audience for each of your fundraising appeals for a maximum return on investment.
Events management
Comprehensively manage your most complex fundraising endeavors.
Batch gift entry
Record multiple gifts at once with a spreadsheet formula that includes easy look-up options for records and codes.
Alerts
Keep on top of important tasks such as outstanding receipts and expiring credit cards with login alerts.
Integrations
DonorPerfect runs smoothly with other essential software programs like QuickBooks, Givecloud, and DonorSearch.

Get better results from your donor conversations
Practice real fundraising conversations with Practivated, a nonprofit tool that uses your donor data to prepare for any donor interaction with expert feedback.
- Create lifelike scenarios from your donor profiles, gift history, and goals
- Rehearse asks, thank-yous, follow-ups, and more
- Reduce anxiety by preparing in a private, pressure-free space
- Refine your messaging and communication skills with focused practice
- Build habits that lead to stronger donor relationships and more gifts